 Deutsch
 English
1. Install ddclient
$ sudo apt-get install ddclient
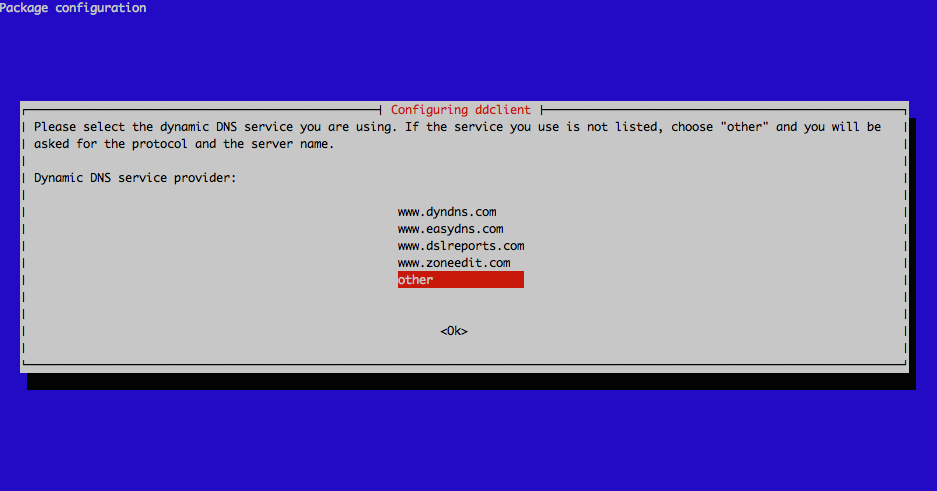
2. Choose “other”
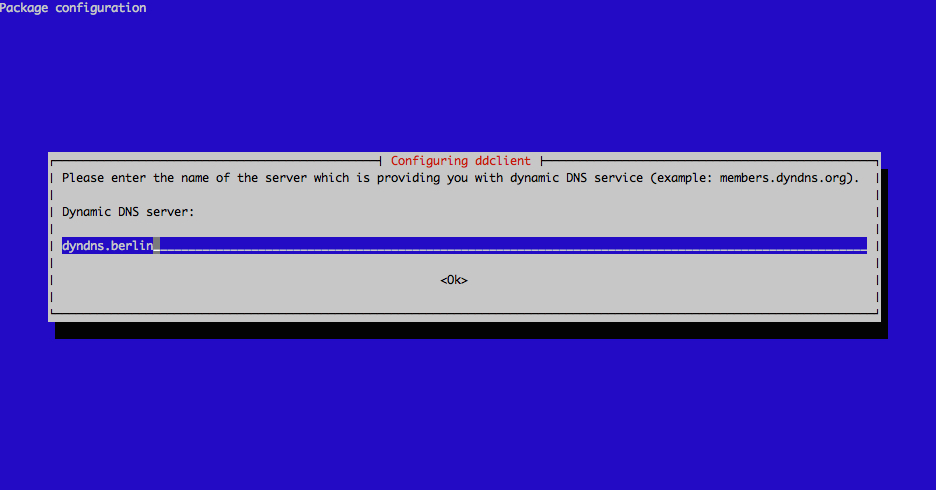
3. Dynamic DNS Server is always "dyndns.berlin" (even if you’ve decided for "free-dyndns.org")
4. As “Dynamic DNS update protocol” choose "dyndns2".
5. Username = Your username on dyndns.berlin
6. Password = Your password on dyndns.berlin
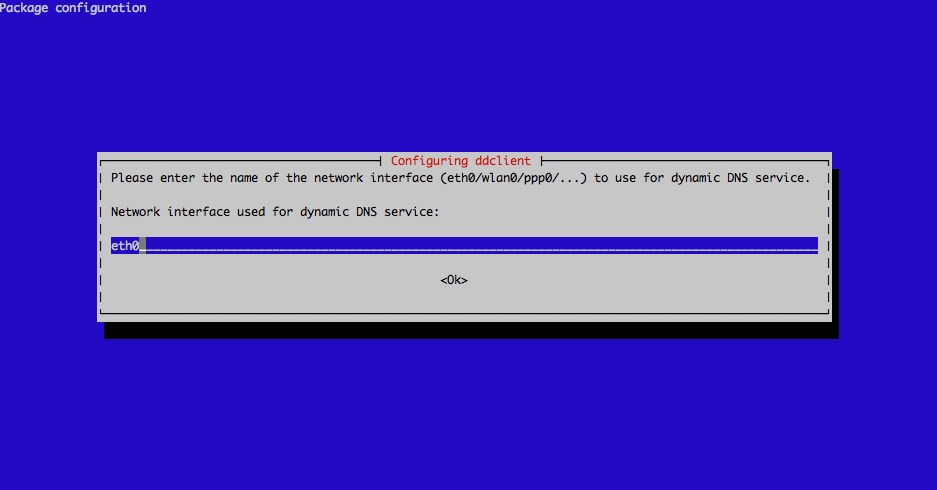
7. As Interface type in "eth0". We must change these setting anyway later in the configuration file.
8. The “DynDNS fully qualified domain name” is your full dyndns e.g. "test.dyndns.berlin" or "test.free-dyndns.berlin".
9. Open the ddclient configuration file ("/etc/ddclient.conf") with a editor of your choice.
Change the following row:
"use=if, if=eth0" to
"use=web, web=dyndns.berlin/ip"
and add the following line:
"ssl=yes"
10. To finish the configuration and apply the new settings restart ddclient.
$ sudo /etc/init.d/ddclient restart
That’s it, your DynDNS is now updated from ddclient 